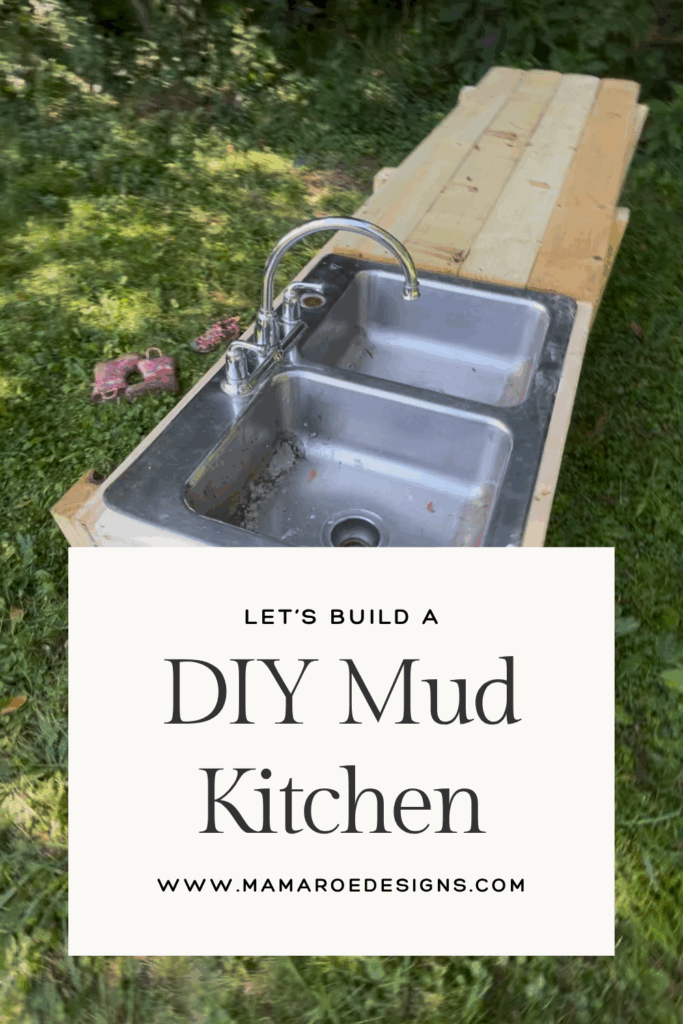
Our mud kitchen is our most used toy. We LOVE it. We use it every single day, and it will keep my kids busy for hours. I recently built one for a friend and thought I would share how we did this. This is a cost effective method on how to build a mud kitchen. You can buy nicer materials for it to withstand weather a little more, but this has lasted for two years at our house and being hit with a skid steer! So its a great project. We are painting our mud kitchen this year to help it withstand the weather and water a little more this year, but it really doesn’t need it, we just want this to last for as long as possible.
This post does contain affiliate links. If you click any of the links and make a purchase I will make a small commission at no additional cost to you.
Full disclosure a lot of this build is intuitive. You can see the reel I made to get a better idea of how this works, but the measurements will be based on the size of your sink. So all of this is just a baseline for you to build your own. I will share my measurements and supply list, but you may need more or less to build your own based on your sink.
Find a sink
The first step is to find a sink! Facebook Marketplace is your best friend for this. People will often get a new sink when remodeling their kitchen, and then sell their old ones. Don’t pay more than $20 for a sink. Find one that has a faucet still attached or knobs! But stick with stainless steel because it will last the longest. They are made to handle lots of water so its the perfect option for your mud kitchen. I am a fan of the bigger the better, but plan out your space to decide which size would work best.
Collect Supplies
For this project you will need:
- Stainless Steel Sink (other things can work here but this is what I recommend)
- 6- 2x4x8s studs
- 2-2x4x8 Pressure Treated boards
- 2-Tubs of 3in wood screws
- 8 pressure treated fence pickets
- Cordless Drill
- Circular Saw
This is the bare bones, and the cheapest way to build this. You can use nicer materials. One way to improve upon this is to buy everything in pressure treated lumber. That is probably best practice. But it will make the build a lot more expensive. You could also use cedar for everything (including the pickets) this will double if not tripe the price, but it will be more weather and rot resistant. If we ever have to rebuild ours i honestly wouldn’t change much, because by the time we need to rebuild we will probably need to make it bigger or taller, so we would need to start over any way.
Make the bases!
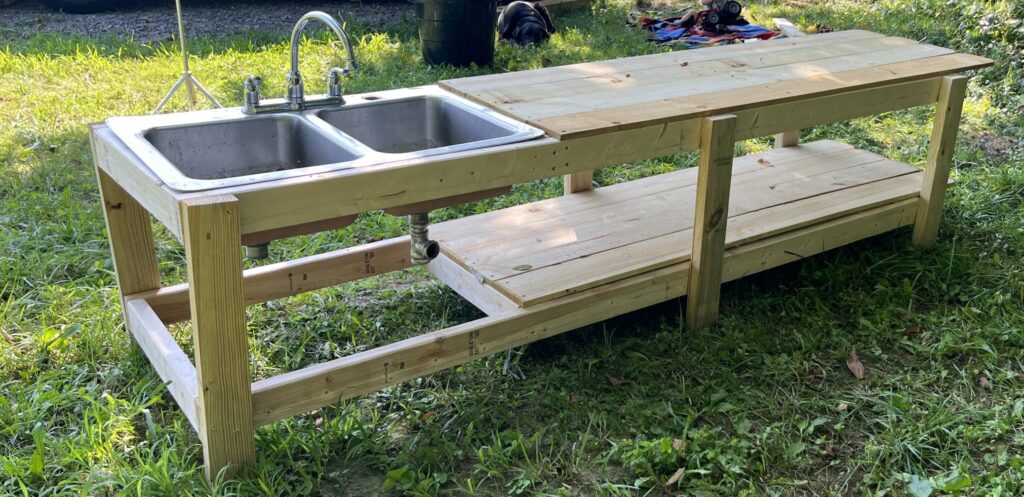
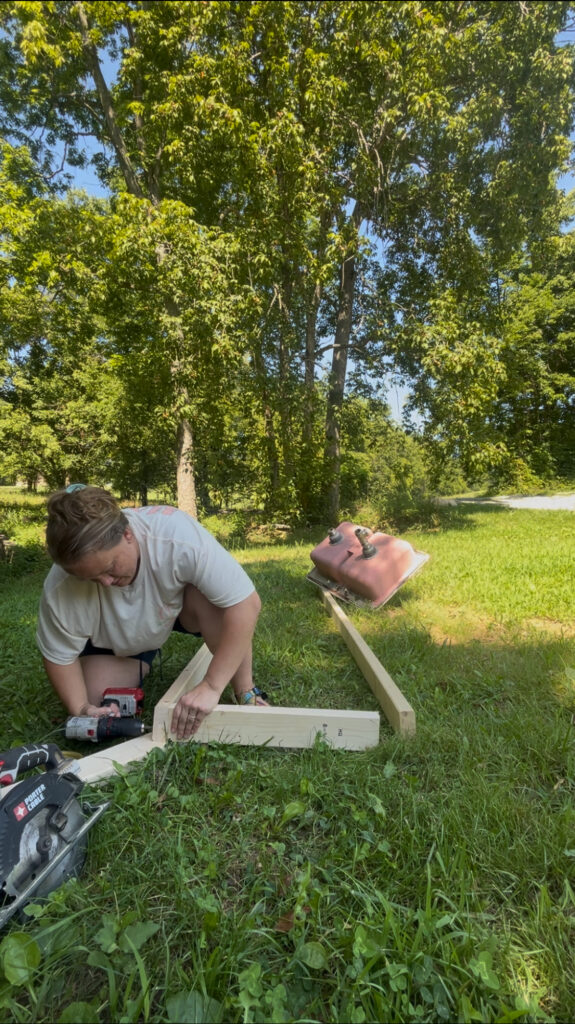
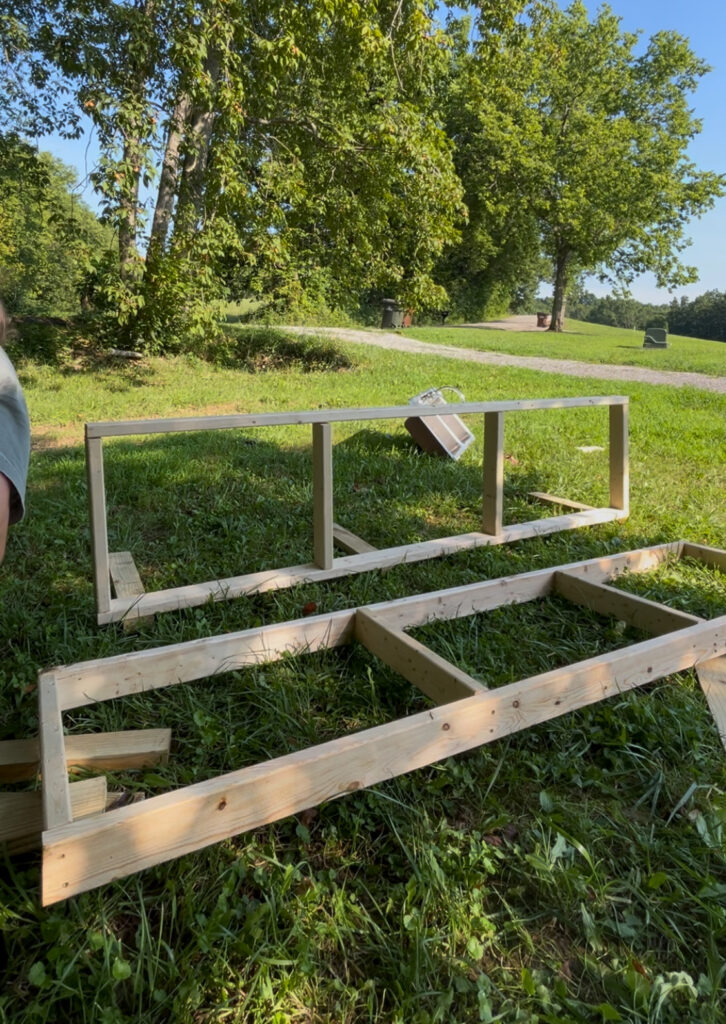
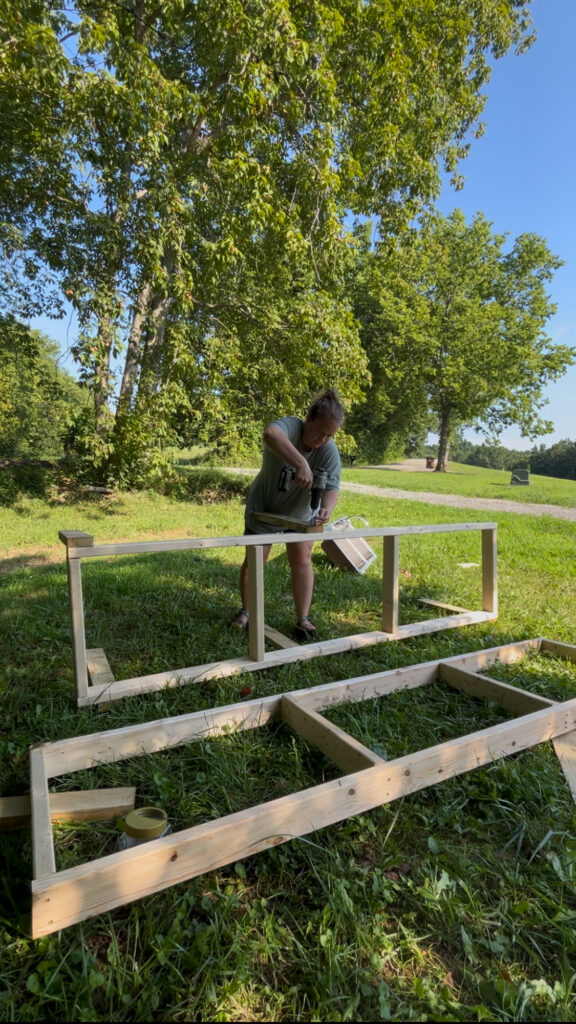
When building making boxes is a standard practice. You will need to make 2 rectangular boxes for your mud kitchen. You will use the stud lumber for this, not the pressure treated lumber. The size will depend on the size of your sink. For my boxes I used the full length of the 2x4x8s and then we had it be 21inches front to back so that our sink would fit snug. You will want to measure your sink to figure out your dimensions here. Then you will place 2-3 braces in the rectangle to give your table structure and stability. You will want to do this twice!
Add the legs
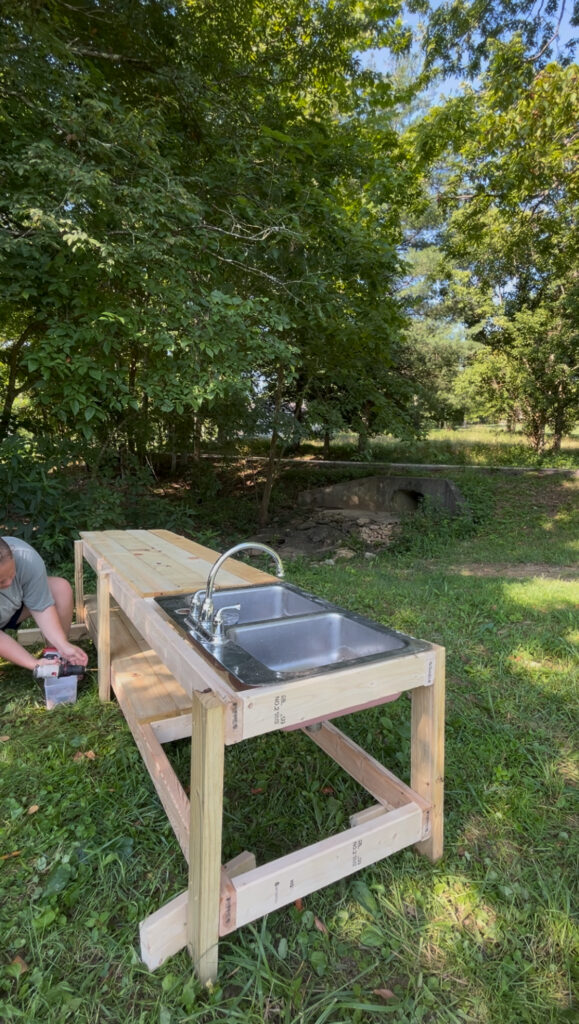
Use your pressure treated lumber for this! We cut six 2ft legs for our table, but you can adjust this for your child. But also consider the bottom shelf to make sure it is useable! I wouldn’t do anything shorter than 17inches. Anything over 2ft may need additional support to make sure it is stable and not top heavy. I put legs on the 4 corners, and then one in the middle or a little closer to the sink, since it will hold a lot of weight in water.
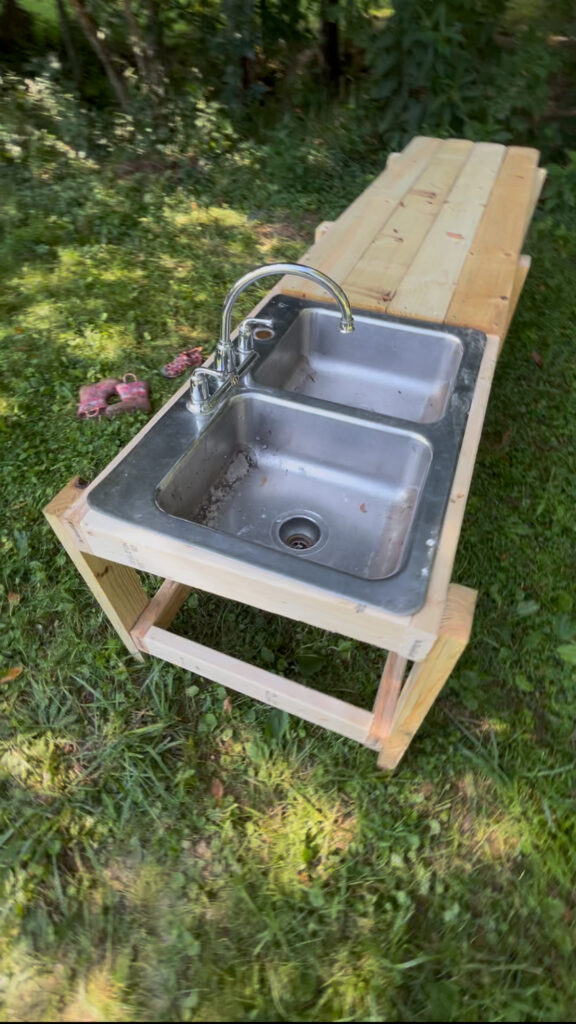
Make the counter
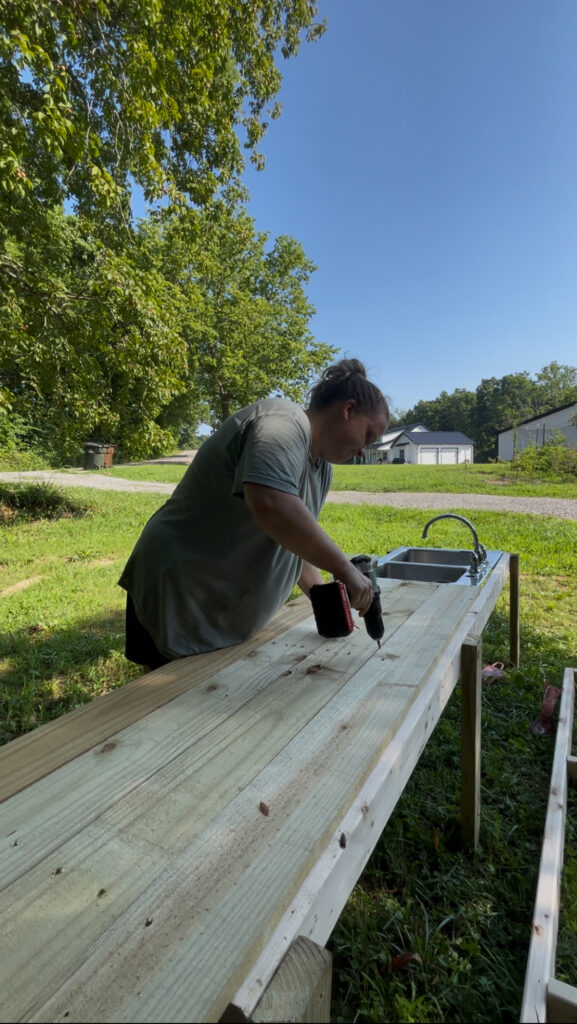
You will then add the fence pickets to the top of the two boxes, and retrofit your sink. You will want to make sure you place your sink and then place the fence pickets. I let mine hang over the end for more space, but you can cut yours off if you want. You can also use any scraps you have to give your sink a tighter fit, but we don’t screw our sink in, because I like to pull it out to clean it. Then screw the pickets to the top and bottom shelf to give your kids some play space. Make sure you leave a space open under the sink for water to drain, otherwise that area will ruin pretty quickly. You can also use PVC or tubing to guide water out away from the table, but make sure it is easily cleaned of mud and debris.
Attach them together
Then put the top over the bottom and prop it up on some scraps to attach the legs to the bottom. This will give your kids an oven, or just storage for them to put their toys. This part is hard, but it should be a tight fit, or your measurements are off. You will attach the legs to the bottom and then you are done!
We love our mud kitchen and I get so much rest from it. Its a hit for all of our friends too. When we have friends over they all gravitate towards the mud kitchen and several have asked me to make them one. You can make a mud kitchen out of anything! I highly recommend adding lots of space for a work area, and also I don’t recommend adding things like stove burners, unless they are painted on. Work space is by far the most used. I am considering improvements to our own mud kitchen and all of it comes in the form of more counter space!
I hope this made sense and you were able to build your own mud kitchen! You won’t regret it!